
How to Use SPSS to Analyze Research Data
Let me start by telling you how truly sorry I am that you have to undergo this task. But, since you have to. Let’s do this.
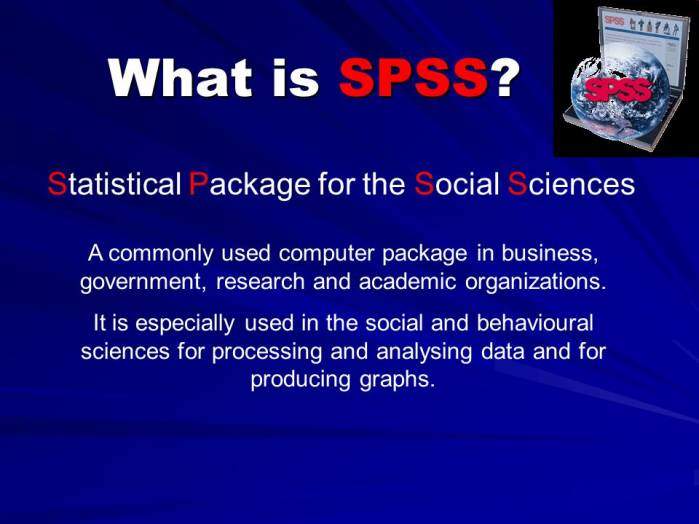
What is SPSS?
First things first let’s settle what exactly SPSS is.
SPSS or Statistical Package for the Social Sciences, also known as IBM SPSS Statistics, is a software package used for the analysis of statistical data. Although the designation of SPSS reflects its original use in the field of social sciences, its use has since expanded into other data markets. SPSS is commonly used in healthcare, marketing, and education research.
SPSS provides data analysis for descriptive and bivariate statistics, numeral outcome predictions and predictions for identifying groups. The software also provides data transformation, graphing and direct marketing features.
The software interface displays open data similar to a spreadsheet in its main view. With its secondary variable view, the metadata that describes the variables and data entries present in the data files are displayed.
The software package was created in 1968 by SPSS Inc. and was acquired by IBM in 2009. While the software was renamed to IBM SPSS Statistics, it is still commonly referred to as just SPSS.
The types of data analyzed using SPSS is widely varied. Common sources include survey results, organization customer databases, Google Analytics, scientific research results and server log files. SPSS supports both analysis and modification of many kinds of data and almost all formats of structured data. The software supports spreadsheets, plain text files and relational databases such as SQL, SATA, and SAS.
Working with SPSS for data analysis isn’t that difficult, but it can certainly confuse those who haven’t ever given it a try before. One of the most important things to keep in mind when working with this technology is that it can take in almost any type of file, but this isn’t always a plus. SPSS is a totally comprehensive system when it comes to analyzing data, and it can use any information to tabulate reports. However, correctly formatting the data beforehand will make everything much easier when the time comes to do the overall report.
Steps to Using SPSS
There are a few basic steps to using SPSS for data analysis that will help anyone working with the software to really speed up the process:
- When working with the technology, it is important to first correctly format any of the data in the file that will be transmitted to the software.
- Launch the SPSS platform and wait for the Data Editor window to open up.
- When variable names appear in the list dialog box, make sure that they’re in alphabetical order.
- Resort the variable names if they aren’t in the desired order.
- Head to the Edit menu and select the Options box.
- Select the General tab and then pick Display Labels from the list group marked Variables.
- Pick alphabetically and then click on OK and approve it a second time as well.
- Open up a Data File by heading to the File menu and selecting the Open File dialogue to choose one.
- Head over to the View menu and select Value Labels.
- Finally, go to the Analyze menu, select Descriptive Statistics and then click on Frequencies. This will cause a report to be generated.
Using a Non-parametric Test in SPSS
Open the students’ worksheet (note the extra “s”). The file has all the numbers representing the number of times each student contributed in the variable called “speakn” and the age group in the variable called “grp”. Each row of this data represents a student, the number in the “speakn” column is the amount they contributed and the number in the “grp” column tells us their age and year grouping. The middle column is just some text to help you see which group is which, if you go to variable view you will see the “grp” variable labels similar to the ones explained in the previous task.
We can take the observed data as a sample of all student contributions to classes over the whole year. We want to know whether the mature first-year students do really contribute more on average, or whether the data we collect only showed this by chance.
We will use a non-parametric test called the Mann Whitney test to test whether first-year mature students contribute more than younger first-year students do.
Non-parametric tests don’t depend on many assumptions about the underlying distribution of the data (e.g. whether it is normally distributed or not.). They are used widely to test small samples of ordinal data. The test decision chart later in this document gives structure for deciding which test to use, there is also plenty of advice on the web.
The SPSS help system describes the Mann-Whitney U test as a non-parametric equivalent to the t-test. It can be used to test whether two independent samples are from the same population (i.e. are they of a similar level).
Write down a null hypothesis and an alternative hypothesis below (for help, have a look at the ones in the previous example – remember the null hypothesis is the one that says there is no change). Remember, we want to know whether mature first-year students contribute more than young first-year students.
- The null hypothesis:
- Alternative hypothesis:
Have a go at filling in the blanks before looking in the box below.
Looking for Correlation is different from looking for increases or decreases.
Open the file Step and draw the scatterplot. Plot a scatter diagram with individ on the x-axis and group on the y-axis.
To draw the scatterplot click the Graphs menu, then choose Interactive, Scatterplot.
Drag the “individ” variable to the horizontal axis and the “group” variable to the vertical axis. Click the OK button and your graph should eventually appear in the SPSS viewer.
Last time we looked at this diagram we were looking at whether subjects had increased or decreased their number of steps when in a group instead of individually. We also looked at the shape of the points on the plot to see if there was a correlation between doing well individually and in a group. I.e. did people who performed well individually also perform in a group?
Look at whether subjects who did more steps (compared with the others) under individual conditions, also did more under group conditions.
Write down what the diagram tells you about this.
Describe the kind of correlation (if any), you see. (Is it strong, weak, positive, none, negative?)
We are going to find the correlation coefficient. However, you may notice that there is more than one option on the “Bivariate Correlations” dialogue. The ones we are interested in are Pearson and Spearman.
The Pearson correlation coefficient assumes that the variables are normally distributed, it is a parametric test. The Spearman correlation coefficient assumes that the variables are not normally distributed, it is a non-parametric test. Other issues may affect your choice of the test but for now, we’ll stick with normality.
Generally, parametric tests are considered more powerful, they carry more weight with statisticians. In this case, I’ve no reason to expect the number of steps an individual can do to be normally distributed, so select the Spearman test. (It is not good practice to select both then try to argue that the one that gives the results you want is the best to use)
NOTE:
Checking for normality
You can graphically compare a sample to a normal distribution with the Q-Q plot. In the Q-Q plot, the normal distribution is represented by a straight line (the bell shape is squashed flat), your data is plotted around it. Data points from a normal distribution would appear close to the line. Q-Q plot is under the Graphs menu. See the section later on methods to test whether your data is normally distributed for a full account.
Correlation: Descriptive and Inferential Statistics
When you describe the correlation that you see in the scatter diagram or calculate the correlation coefficient you are doing descriptive statistics: you are talking about the sample.
If you like this article, see others like it: